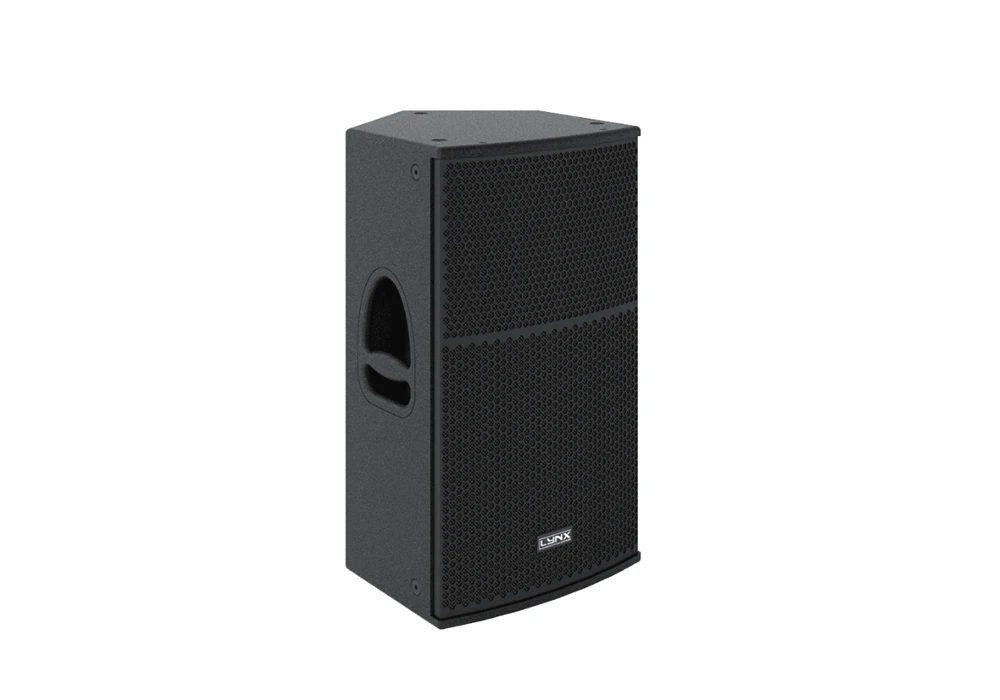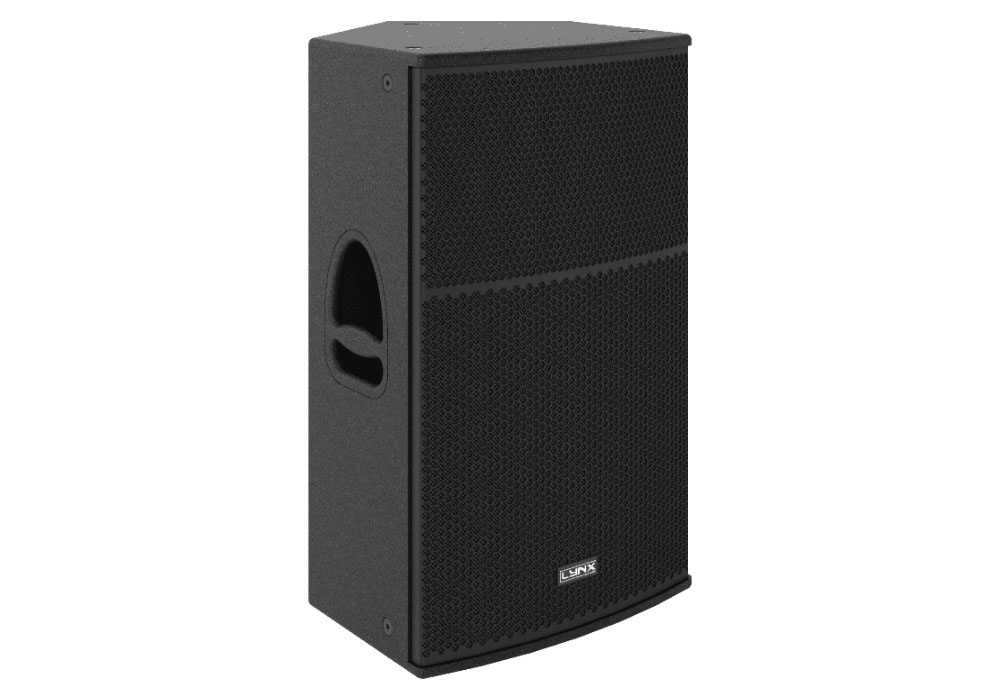
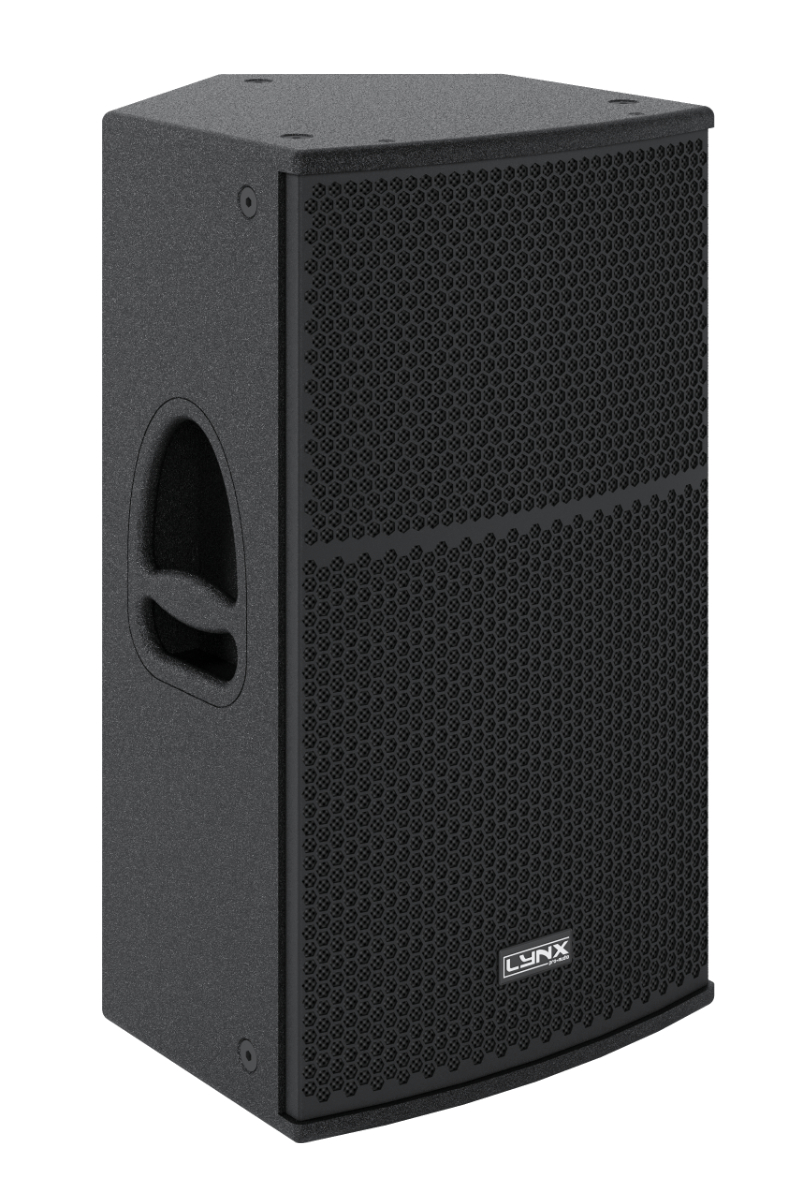

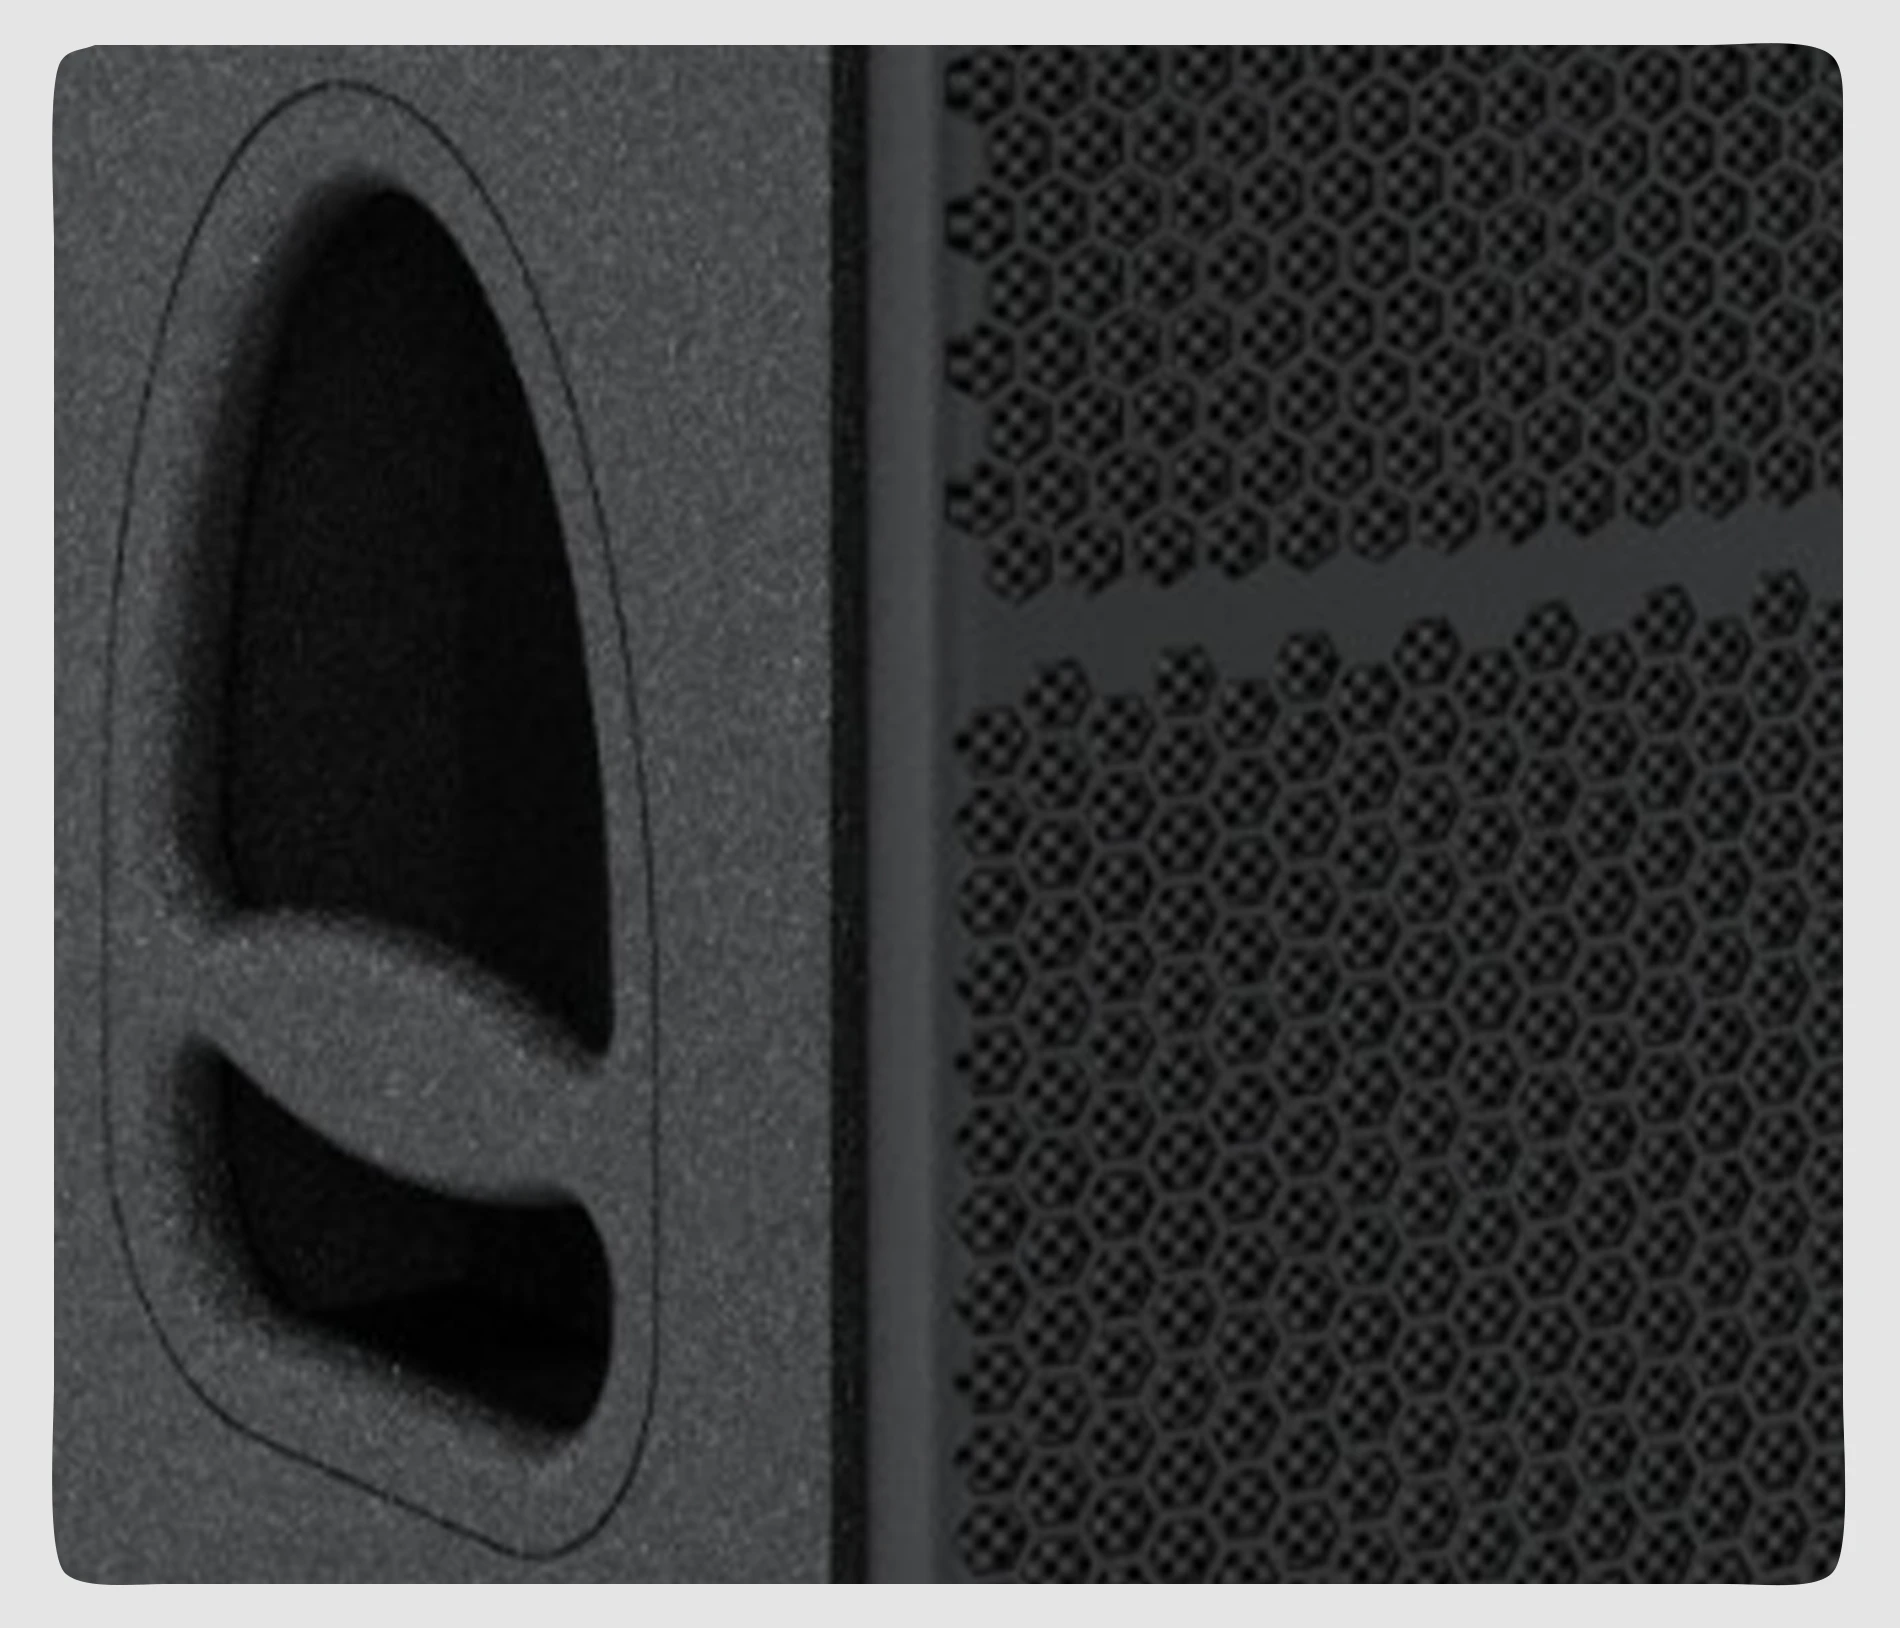
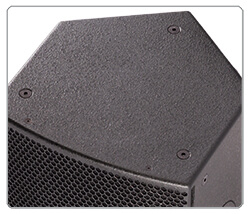
The GXR-12 enclosure is a multipurpose full-range self-powered that stands out for its high performance. It does not need to carry an external amplification rack and is ideal for a wide variety of applications, both in fixed installations and portable applications since its trapezoidal design allows it to function even as a stage monitor.
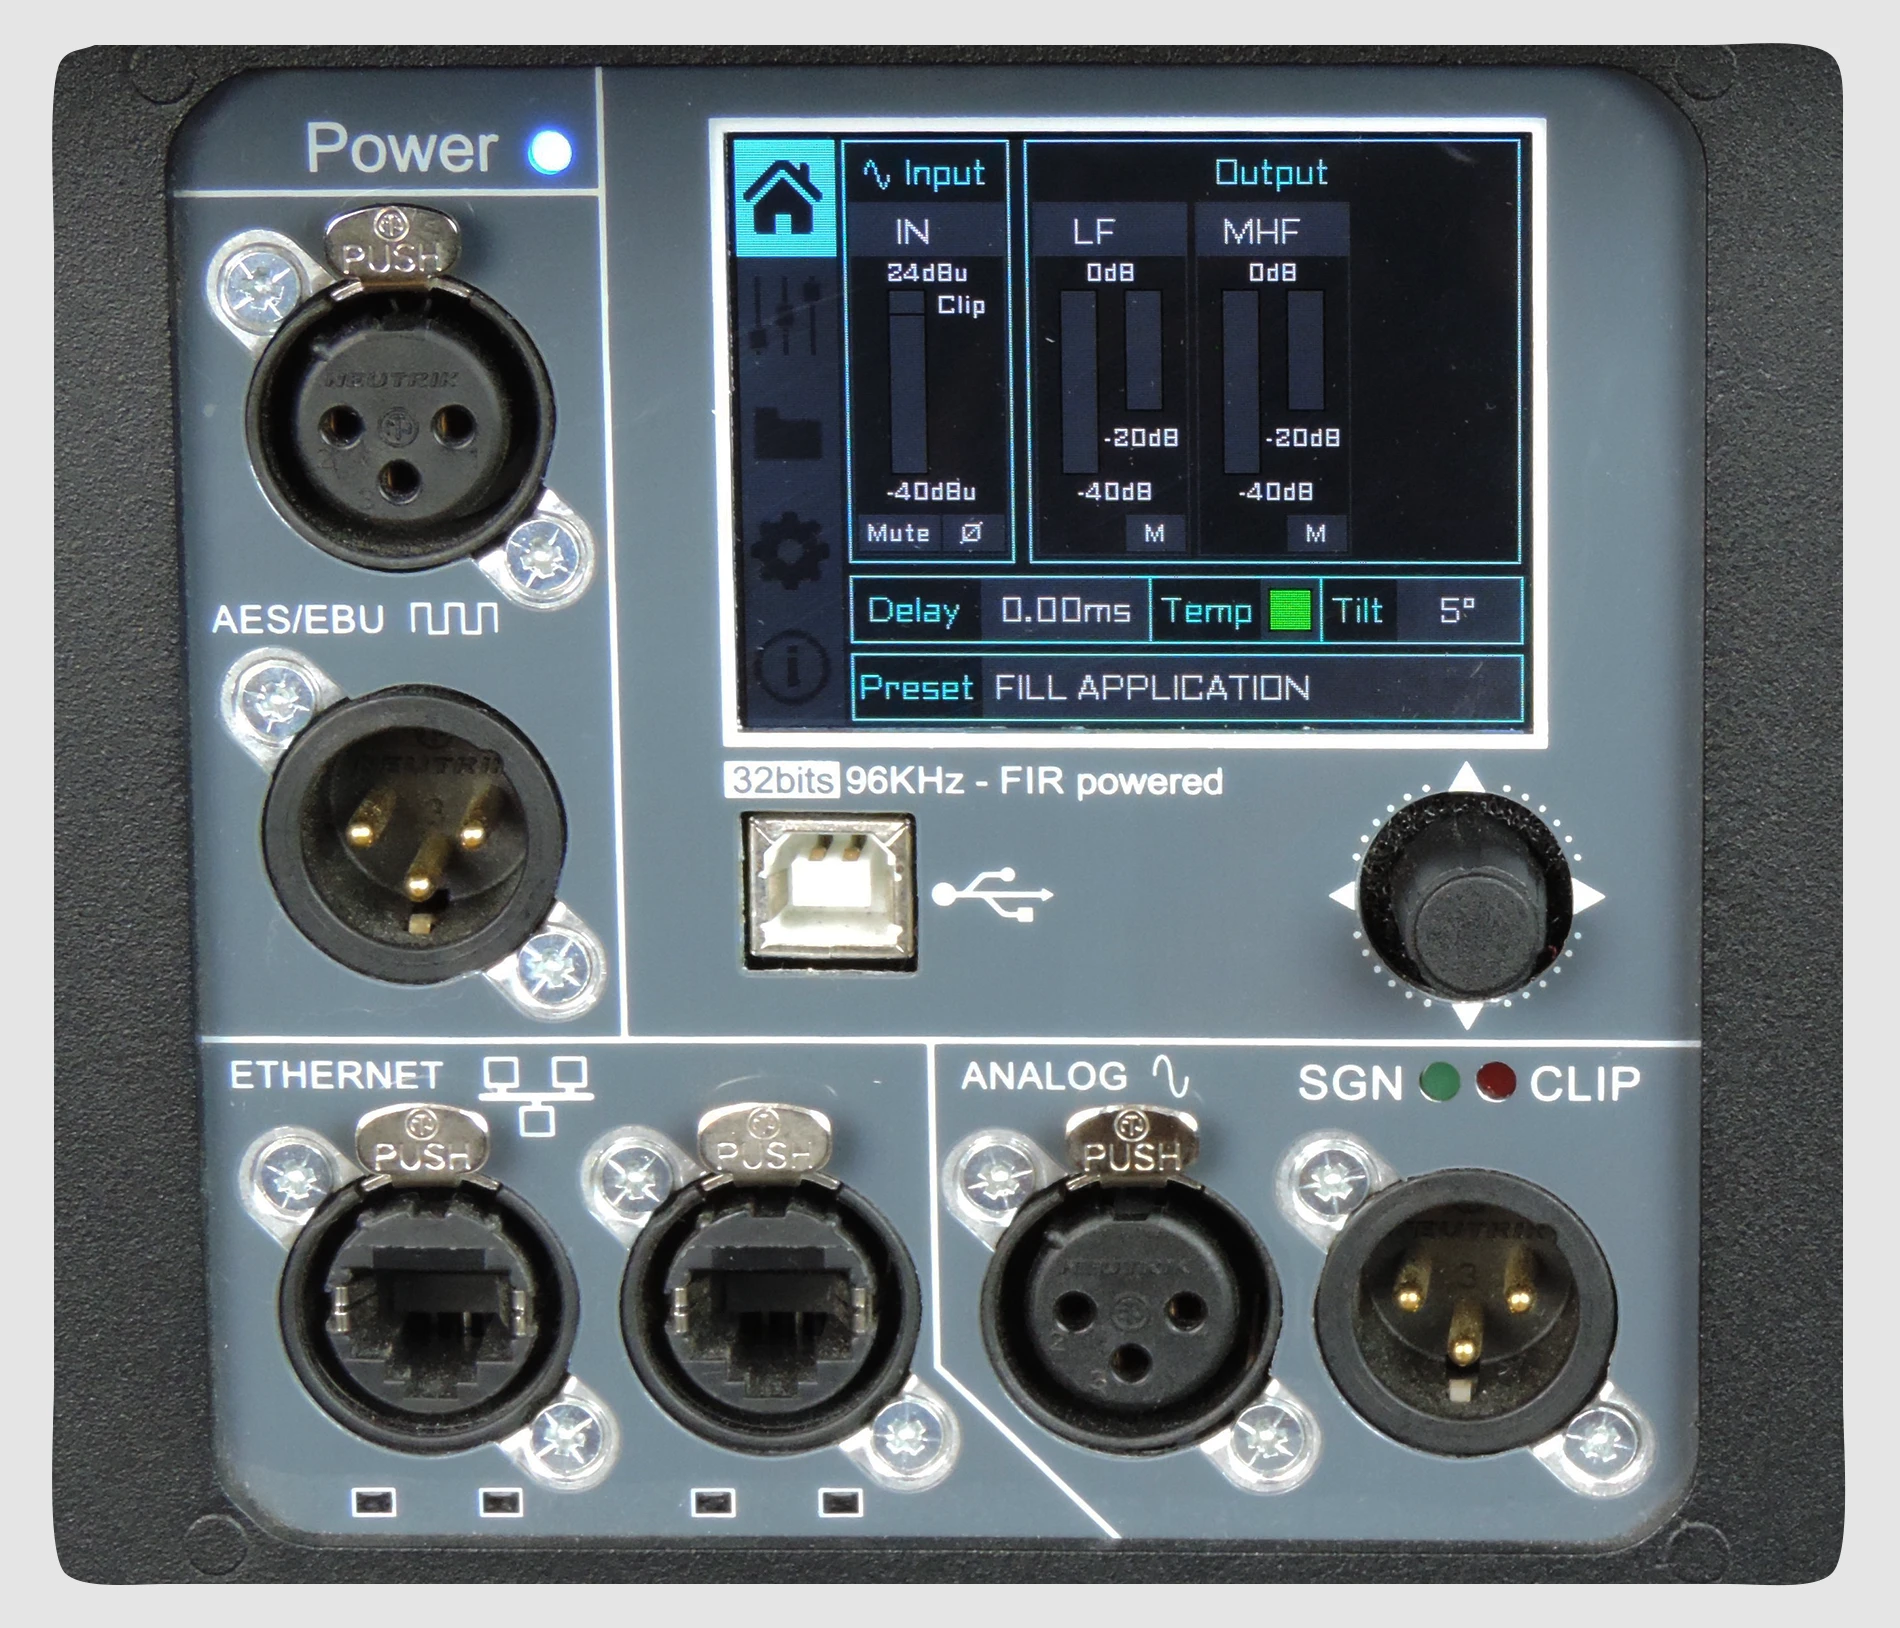
Consists of a 12”(2.5”voice coil) transducer with a 1”compression driver with a polyimide diaphragm mounted on a 90ºH x 40ºV precise directivity horn. DSP (FIR Filters) controlled with 1400W amplification, 127dB SPL. This system can be controlled online in real time.
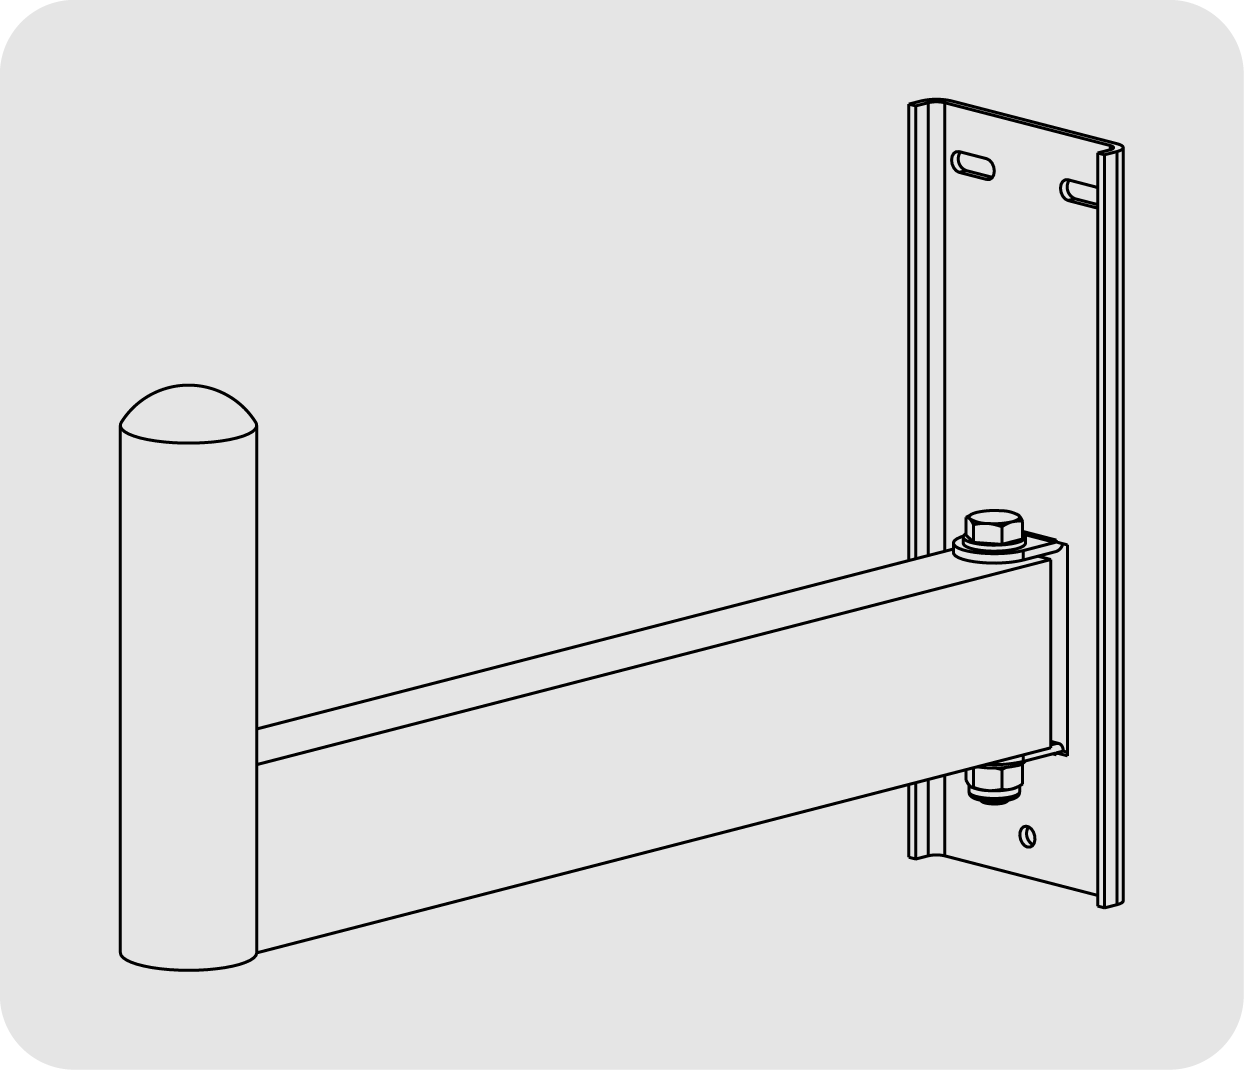
A complete range of accessories facilitate its use on tripod, wall hanging, ceiling, satellite mode, etc. To facilitate its transport, a robust flight case is available where two enclosures can be found next to its wiring. There is also a practical nylon case available.
Perfectly suited for:
- Theatres & auditoriums
- Houses of worship
- Small / middle sized clubs & discos
- Smaller live stages / events
- Front fill / side fill reinforcement
- Portable sound reinforcement

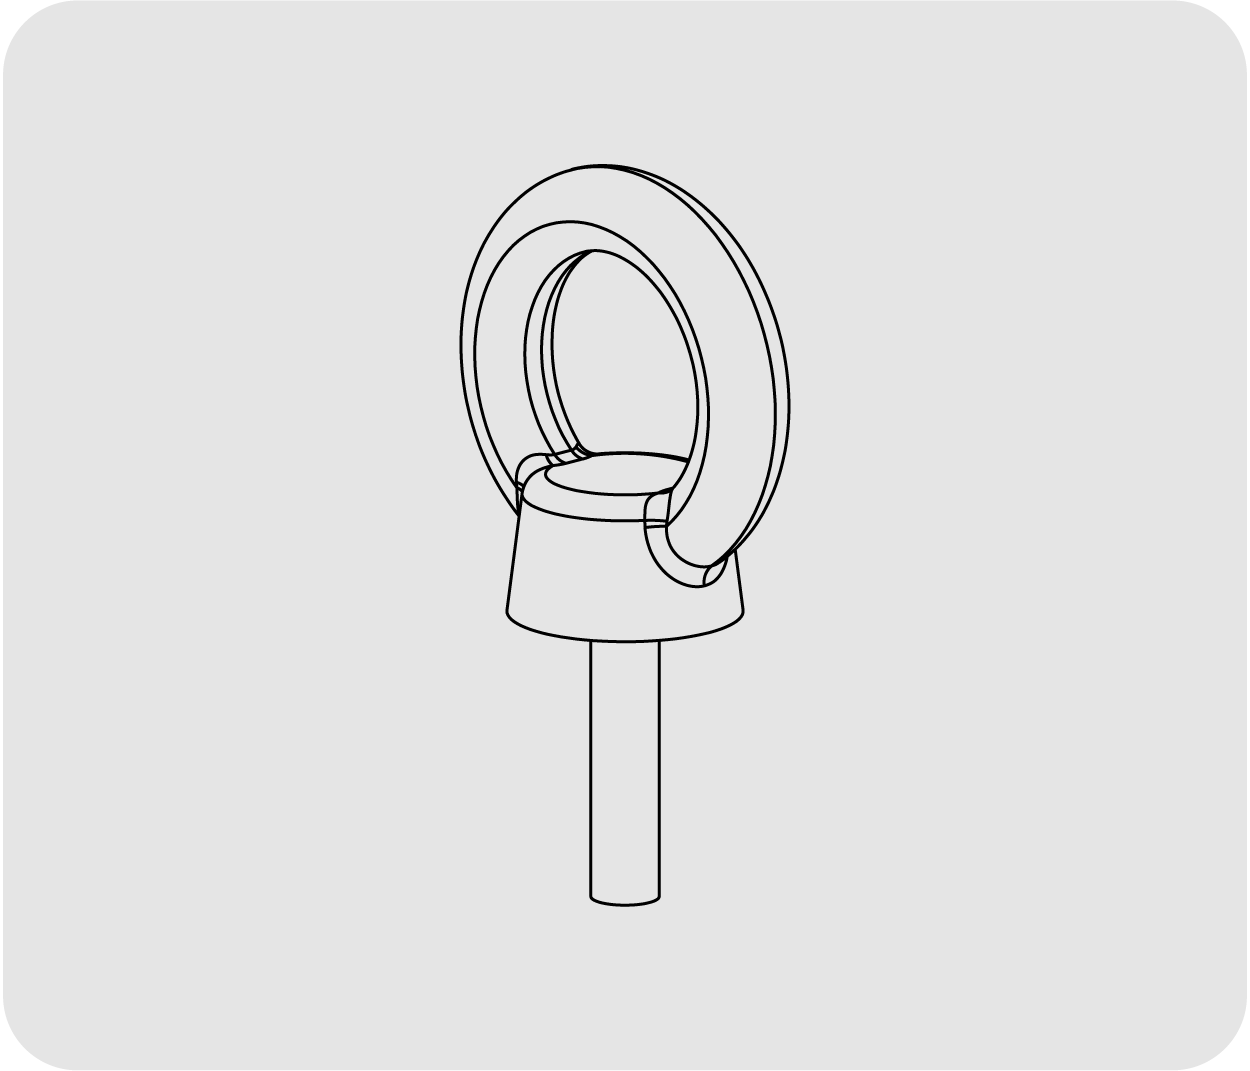
Hardware for GXR-12

Accesories for GXR-12
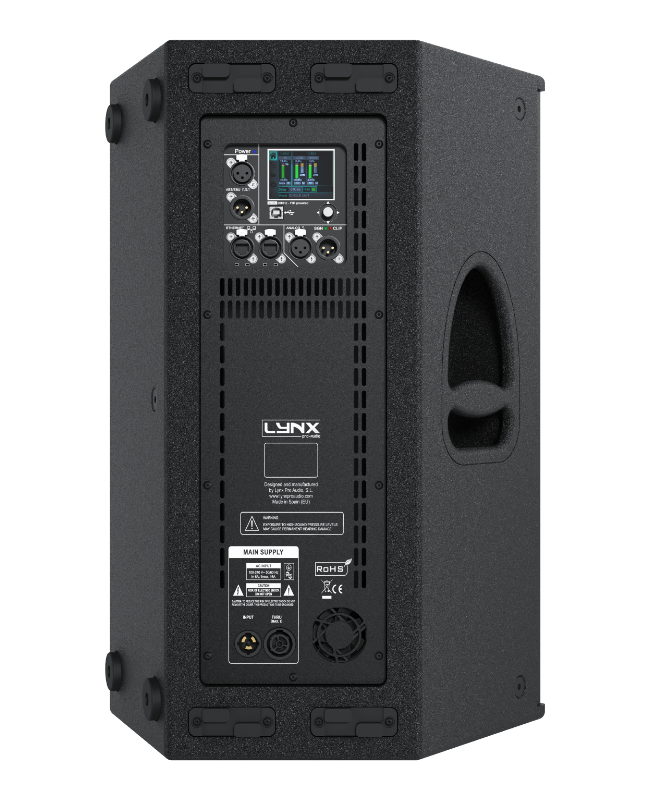
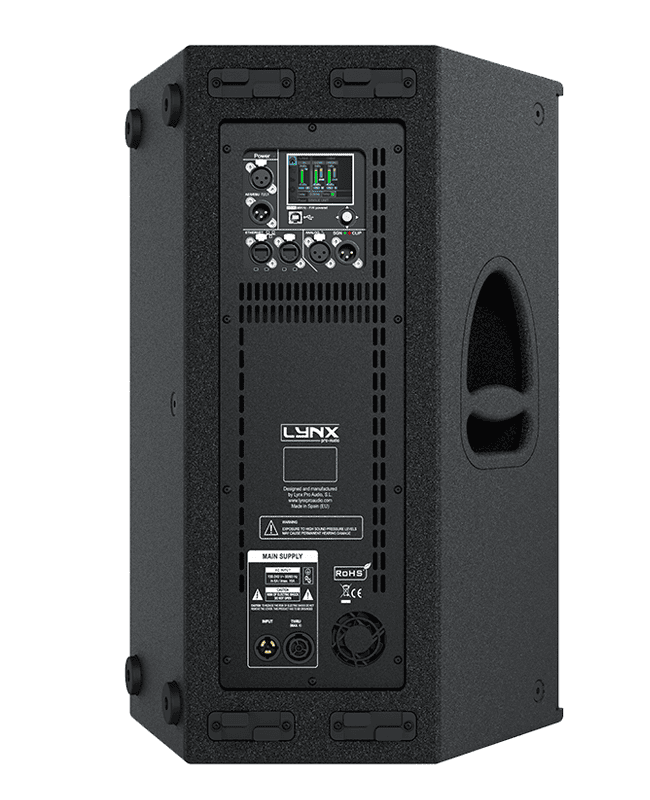
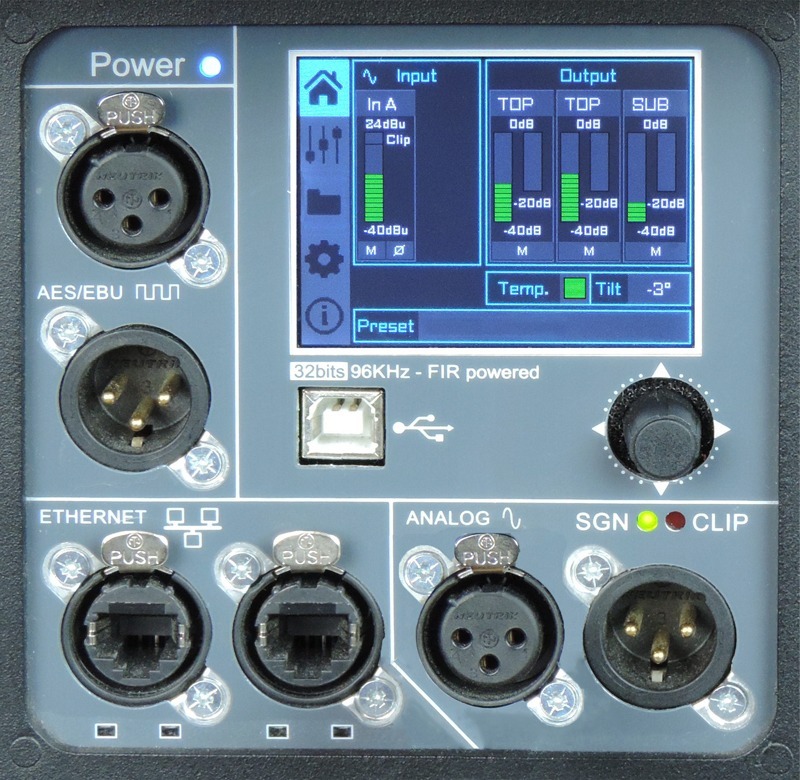
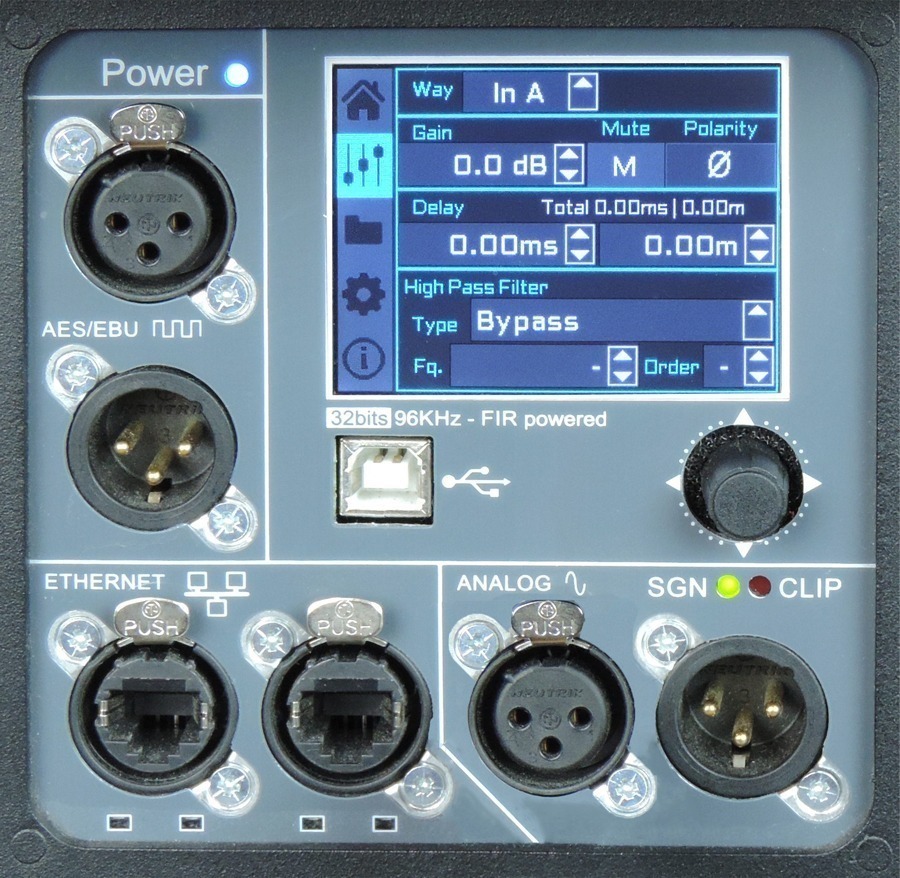
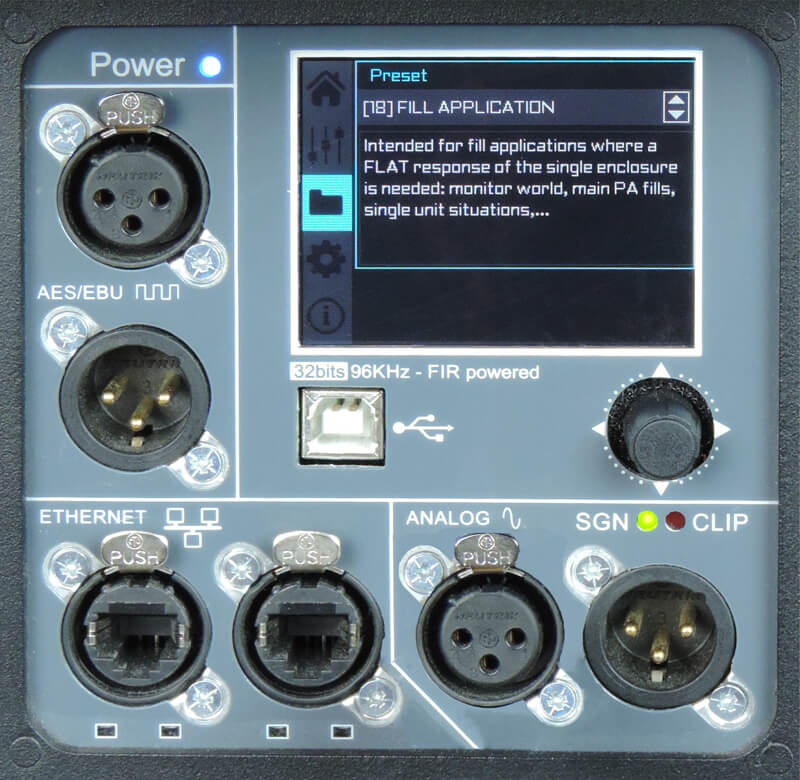
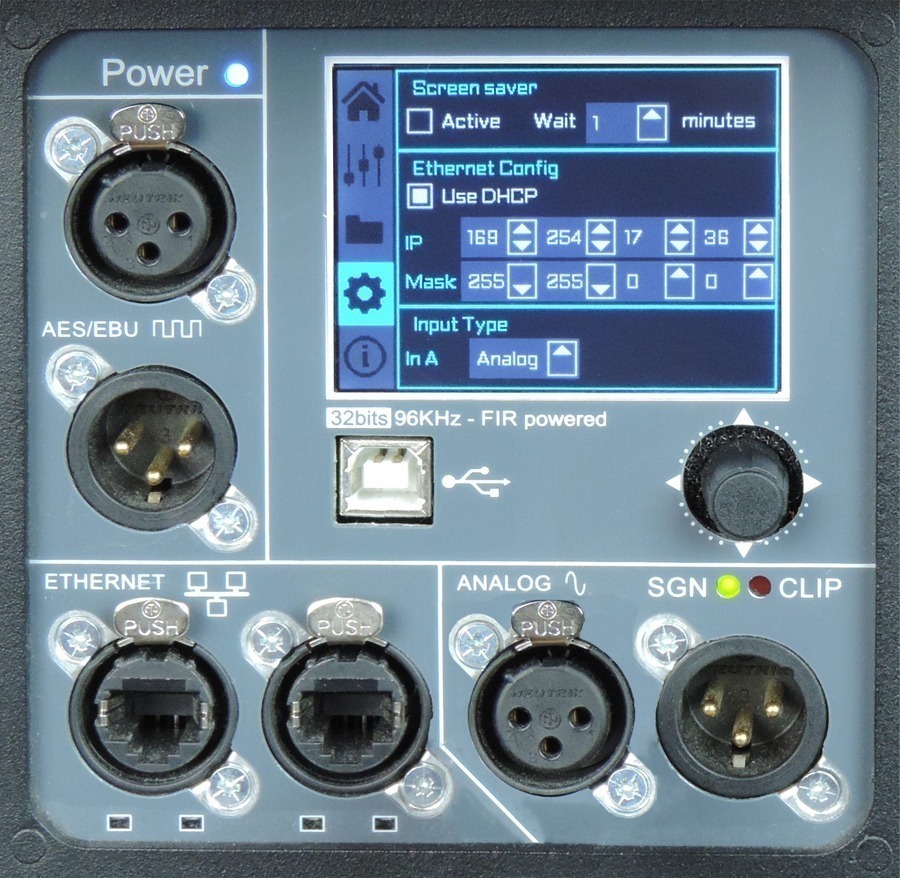
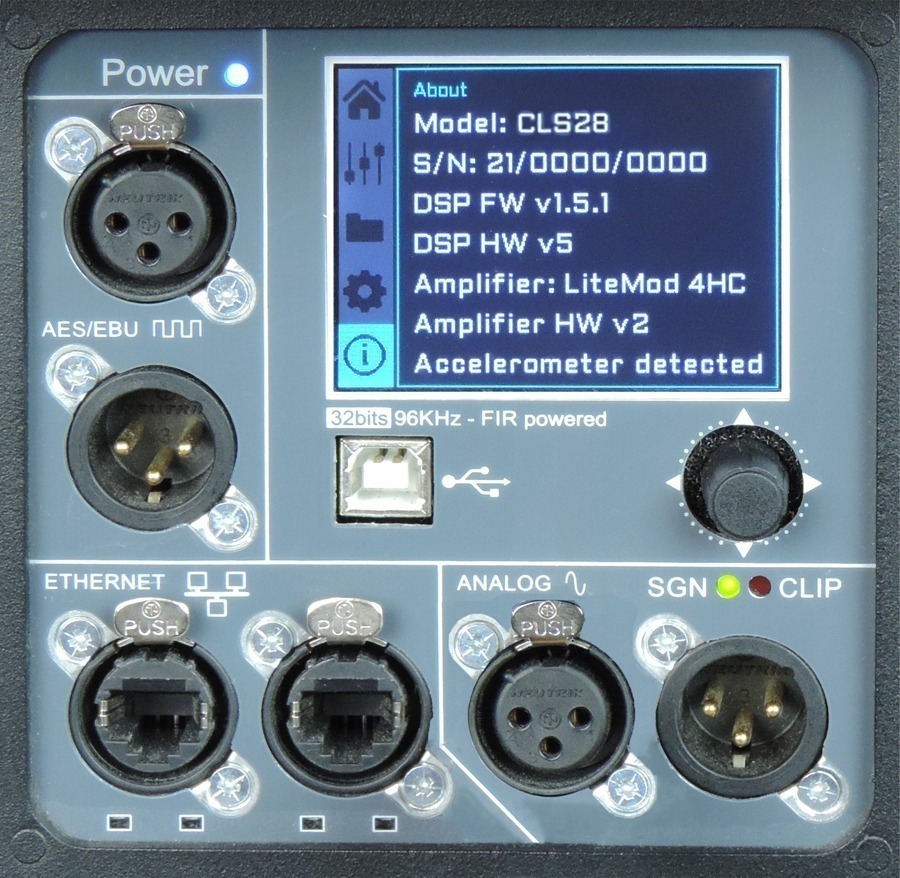
DSP panel configuration
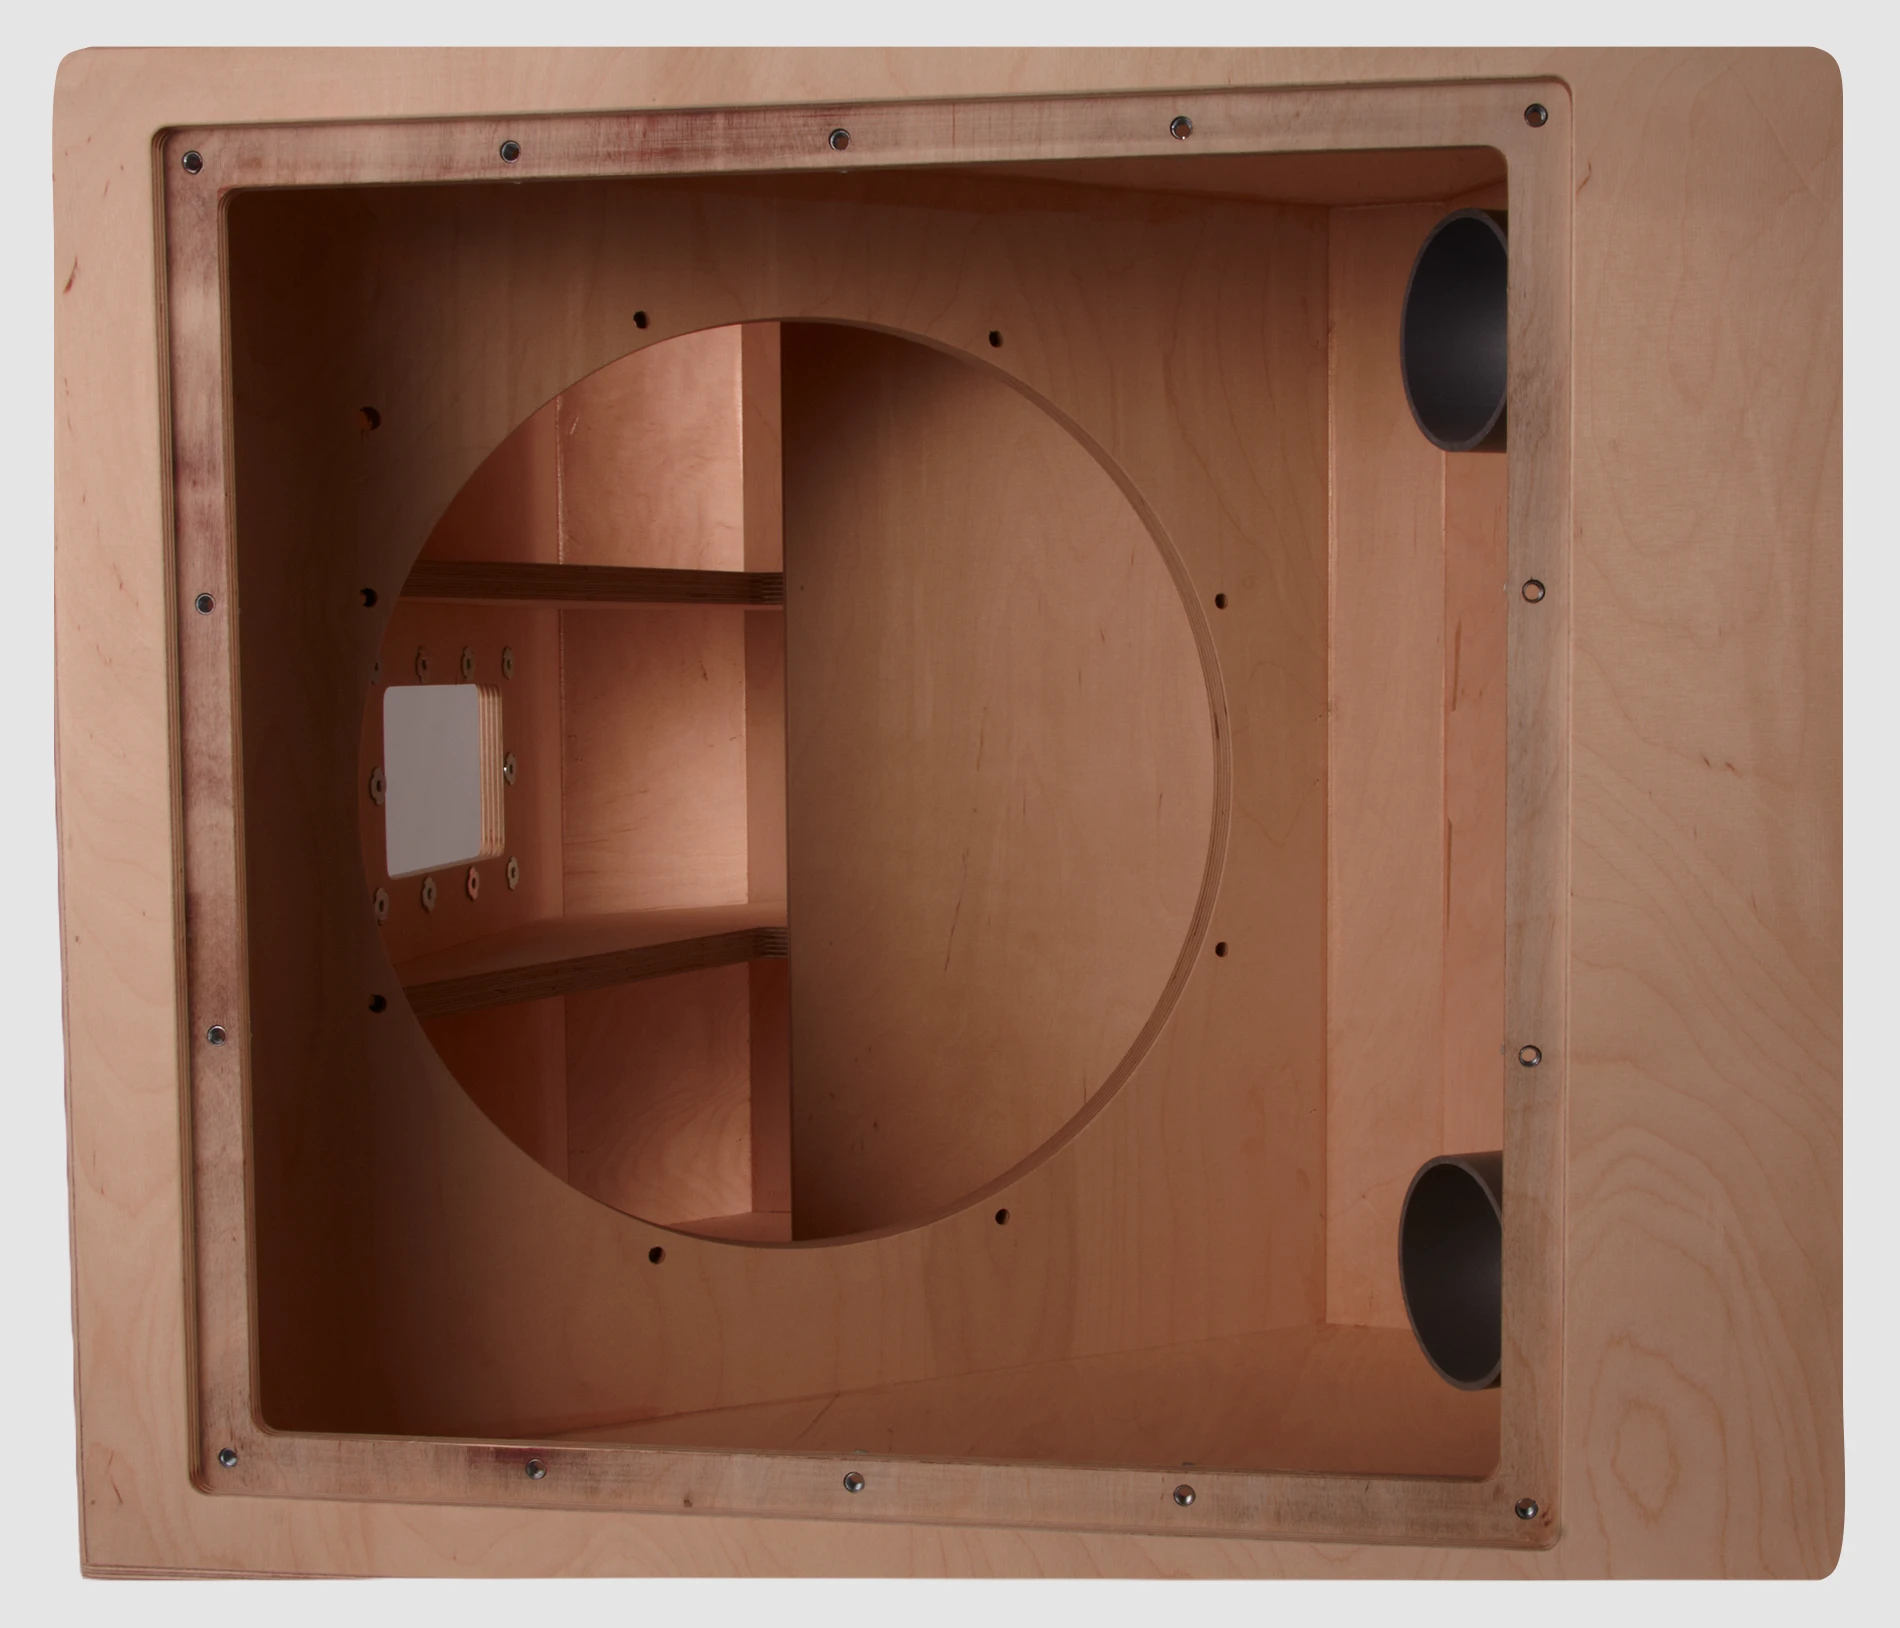
Rear Image